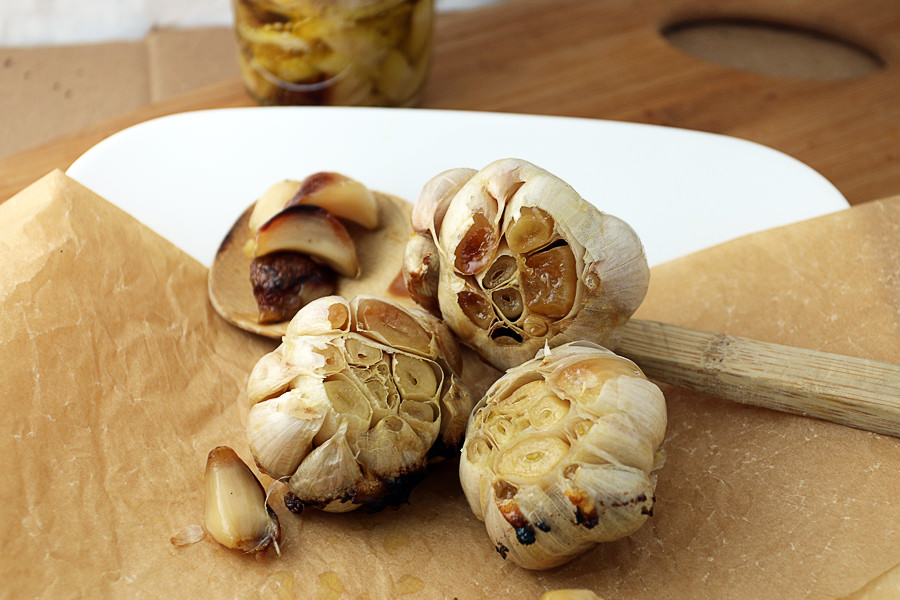
Yup, it’s really this simple to make roasted garlic. Although not very keto-friendly on its own, it does serve a delicious flavor throughout many other dishes. Roasted garlic takes on a deeper garlic flavor, but brings some sweetness to the pot. It’s a fantastic way to get a slightly different flavor out of garlic, and to use garlic as the forefront of a dish.
I don’t see that many people using this technique on their garlic, and they’re really missing out. Roast garlic has a wonderful flavor – and it’s easy to use. You can use it relatively heavy handed because it loses some of that bitterness that you get with fresh garlic, and it can actually be a main component in a flavor profile, rather than lurking at the back. I love the stuff!

What are your favorite recipes to use roasted garlic in? Let us know in the comments below! Oh, and keep an eye out for some ideas on how to use roasted garlic in your everyday cooking – I’ll be posting some soon!
Yields 12 heads of Oven Roasted Garlic
The Preparation
- 12 heads garlic
- ½ cup olive oil
The Execution
1. Get your garlic heads ready. I suggest using some surface that you can get messy for easy cleanup later. Preheat your oven to 400F.

2. Using your thumbs and some pressure, peel the “paper” skins off of the garlic. You don’t have to peel all the layers off, just until you can’t peel any more “paper” off without applying a lot of pressure. Once you do this, cut about 1/2 inch of the head of the garlic off so that the cloves are showing.

3. Discard all unused garlic skins and add garlic heads to an oven-safe dish with foil underneath.

4. Drizzle about 2 tsp. olive oil per head of garlic. About 1/2 cup in total. (Sorry for the tinted pictures, I did the recipe at night so the kitchen lights are reflecting onto the garlic, making them look more yellow in color)

5. Wrap the garlic up in the foil tightly.

6. Put into the oven and cook for 35 minutes. Every 10 minutes check on the garlic – you want the cloves to be a light golden color.

7. Once finished, let the garlic cool. When you can work with it in your hands, you can either peel or slice the excess skin around the cloves and take out the whole cloves.

8. Store in a mason jar and refrigerate. It will last about 2 weeks in the fridge, or 3 months in the freezer. I like to freeze half and keep half.

This makes 12 whole roasted heads of garlic. Per 1 tsp. of garlic (~1 large clove), it is 4 calories, 0.01g Fats, 0.83g Net Carbs, and 0.18g Protein. This does not include the olive oil.
| Oven Roasted Garlic | Calories | Fats (g) | Carbs (g) | Fiber (g) | Net Carbs (g) | Protein (g) |
| 1 tsp. Garlic | 4 | 0.01 | 0.93 | 0.1 | 0.83 | 0.18 |

Oven Roasted Garlic
Ingredients
- 12 heads Garlic
- ½ cup Olive Oil
Instructions
- Peel the outer layers of paper off of the garlic until you get to a point where you have to apply quite a bit of pressure to peel the "paper" skins off.
- Preheat oven to 400F.
- Cut 1/2 inch off the top of each garlic head. Place garlic in an oven safe container with foil underneath.
- Drizzle 2 tsp. of olive oil per head of garlic - about 1/2 cup total.
- Wrap foil around garlic tightly and bake for 35 minutes. Check the garlic and continue cooking in 10 minute intervals if needed.
- When finished, garlic cloves should be a light golden color (some will be darker, this means they'll be softer).

