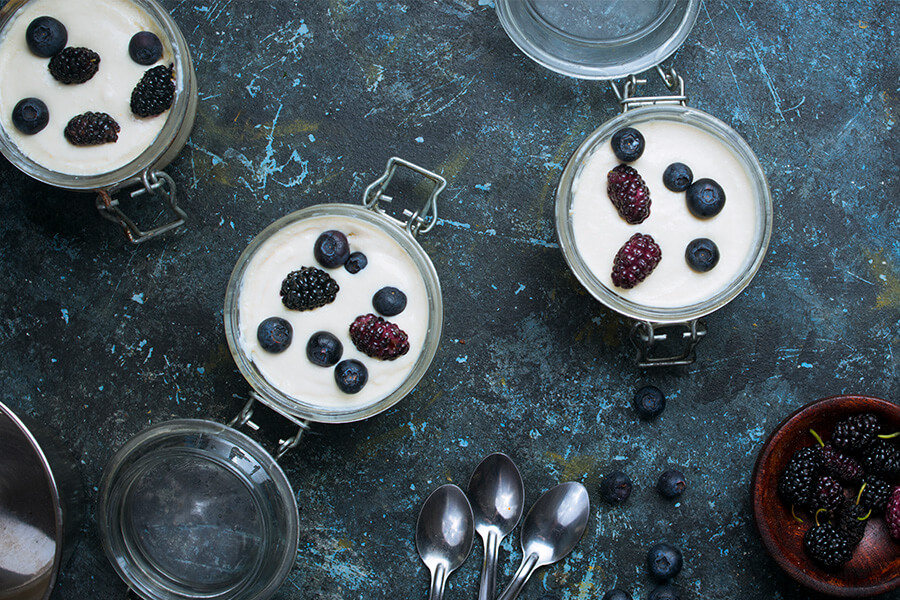
Create a decadent dessert that comes together in mere minutes, requires no baking, and delivers maximum flavor with minimal effort. These Keto No-Bake Protein Cheesecake Cups are the ultimate solution for anyone craving a luxurious sweet treat without the complicated preparation or high-carb ingredients. By combining cottage cheese, cream cheese, and protein powder, you’ll craft a remarkably creamy filling that’s both protein-packed and incredibly smooth, while the simple almond flour crust seasoned with a hint of cinnamon provides the perfect textured foundation.
The true magic of these cheesecake cups lies in their simplicity – from start to finish, you’ll spend less than 15 minutes preparing a dessert that looks and tastes like it came from a bakery. No complicated techniques, no prolonged baking times, and no intricate steps – just pure, straightforward mixing and chilling. The almond flour and allulose crust comes together with a quick blend of ingredients, pressed effortlessly into individual serving cups, while the protein-rich filling requires nothing more than blending the components until silky smooth. Whether you’re a busy professional, a fitness enthusiast looking for a nutritious dessert, or someone following a ketogenic lifestyle, these No-Bake Protein Cheesecake Cups offer a foolproof way to satisfy your sweet tooth without derailing your dietary goals.
Yields 4 servings of Keto No-Bake Protein Cheesecake Cups
The Preparation
Cheesecake Crust:
- 1/2 cup almond flour
- 2 tablespoon allulose, or preferred sweetener
- 1 tablespoon butter, melted
- 1/4 teaspoon cinnamon
- pinch salt
Cheesecake Filling:
- 1 1/4 cup cottage cheese
- 8 ounce cream cheese
- 1/2 cup low-carb vanilla protein powder
- 1/4 cup keto-friendly maple syrup
The Execution
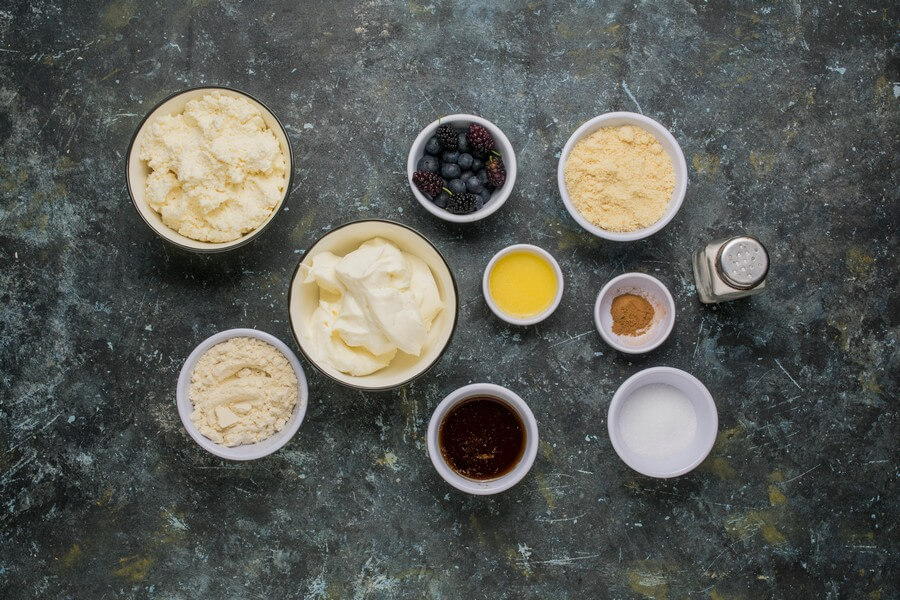
1. Gather and prep all of your ingredients.
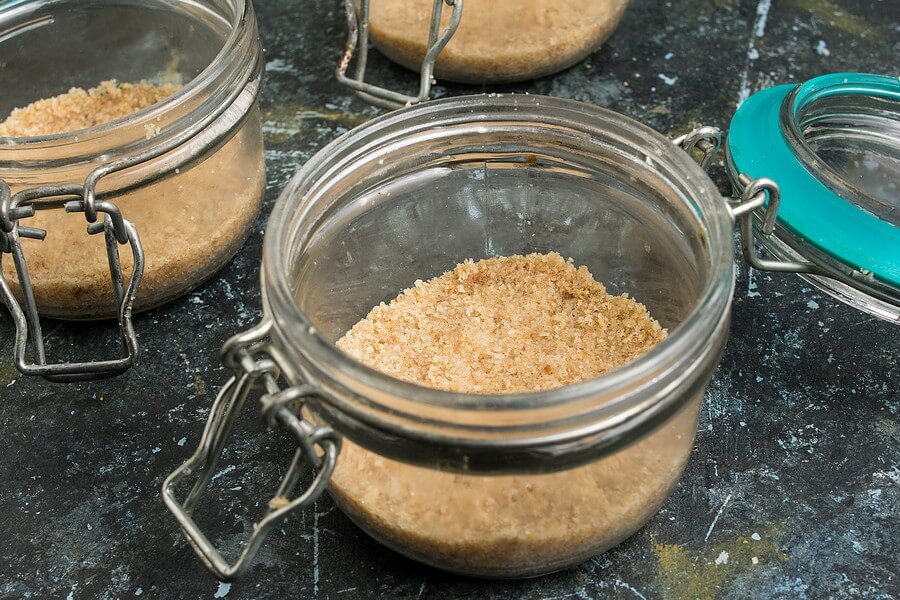
2. Add all ingredients for the crust into a bowl, then mix together well.

3. Press the crumble mixture into the bottom of the jars or containers you will be using.
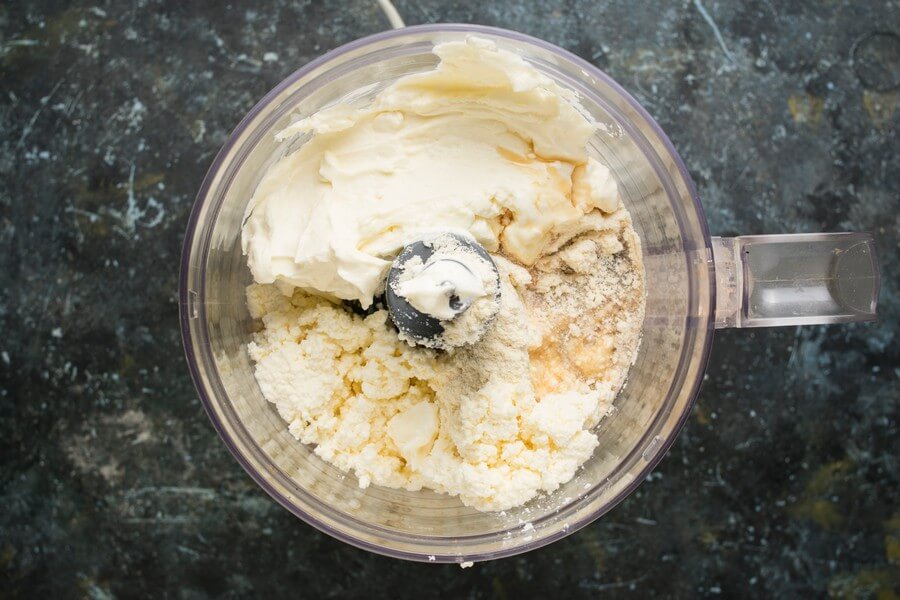
4. Prepare the cheesecake filling by adding all of the filling ingredients to a food processor.
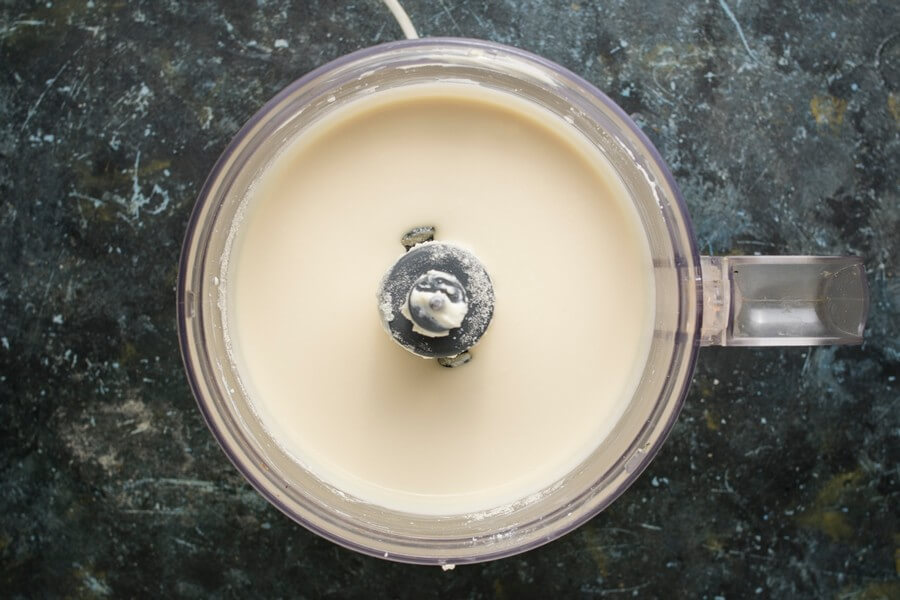
5. Blend until completely smooth. Alternatively, you can use an immersion blender.
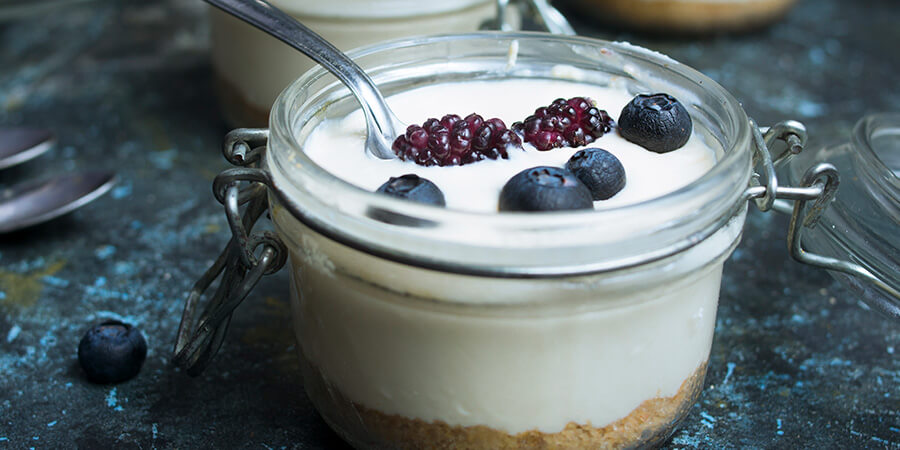
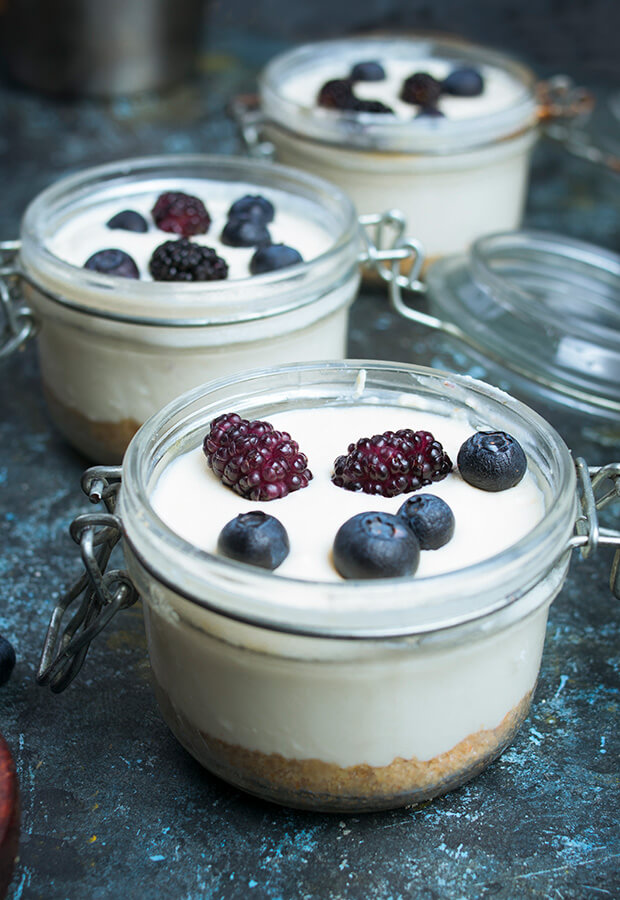
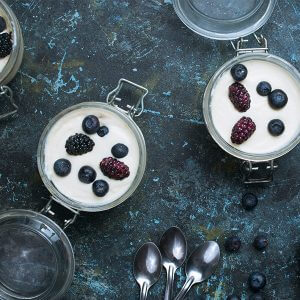
6. Add the mixture to the top of the crust and refrigerate until ready to eat. Optionally, top with berries for some added color and a pop of flavor. Enjoy!
This makes a total of 4 servings of Keto No-Bake Protein Cheesecake Cups. Each serving comes out to be 419 calories, 32.6g fats, 6.6g net carbs, and 23.3g protein.
| NUTRITION | CALORIES | FAT | CARBS | FIBER | NET CARBS | PROTEIN |
| 0.5 cup almond flour | 324 | 28 | 12.32 | 7.28 | 5.04 | 11.76 |
| 2 tablespoon allulose | 11 | 0 | 0 | 0 | 0 | 0 |
| 1 tablespoon butter | 102 | 11.51 | 0.01 | 0 | 0.01 | 0.12 |
| 0.25 teaspoon ground cinnamon | 2 | 0.01 | 0.52 | 0.35 | 0.18 | 0.03 |
| 0 none salt | 0 | 0 | 0 | 0 | 0 | 0 |
| 1.25 cup cottage cheese | 266 | 11.69 | 9.19 | 0 | 9.19 | 30.23 |
| 8 ounce cream cheese | 776 | 77.11 | 9.3 | 0 | 9.3 | 13.95 |
| 0.5 cup vegan vanilla protein powder | 193 | 2.08 | 4.16 | 1.04 | 2.6 | 36.92 |
| 0.25 cup low-carb maple syrup | 0 | 0 | 0 | 0 | 0 | 0 |
| Totals | 1674 | 130.4 | 35.5 | 8.67 | 26.32 | 93.01 |
| Per Serving (/4) | 419 | 32.6 | 8.9 | 2.2 | 6.6 | 23.3 |
Keto No-Bake Protein Cheesecake Cups
Ingredients
Cheesecake Crust:
- ½ cup almond flour
- 2 tablespoon allulose or preferred sweetener
- 1 tablespoon butter melted
- ¼ teaspoon cinnamon
- pinch salt
Cheesecake Filling:
- 1 ¼ cup cottage cheese
- 8 ounce cream cheese
- ½ cup low-carb vanilla protein powder
- ¼ cup keto-friendly maple syrup
Instructions
- Gather and prep all of your ingredients.
- Add all ingredients for the crust into a bowl, then mix together well.
- Press the crumble mixture into the bottom of the jars or containers you will be using.
- Prepare the cheesecake filling by adding all of the filling ingredients to a food processor.
- Blend until completely smooth. Alternatively, you can use an immersion blender.
- Add the mixture to the top of the crust and refrigerate until ready to eat. Optionally, top with berries for some added color and a pop of flavor. Enjoy!