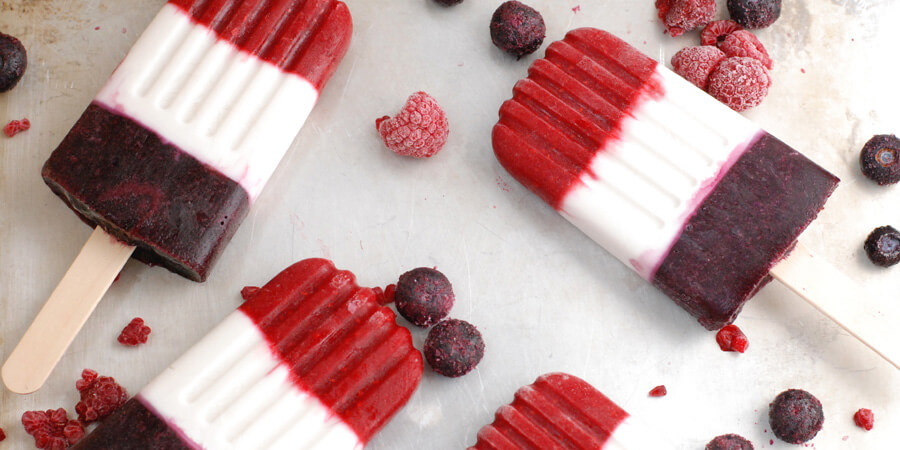
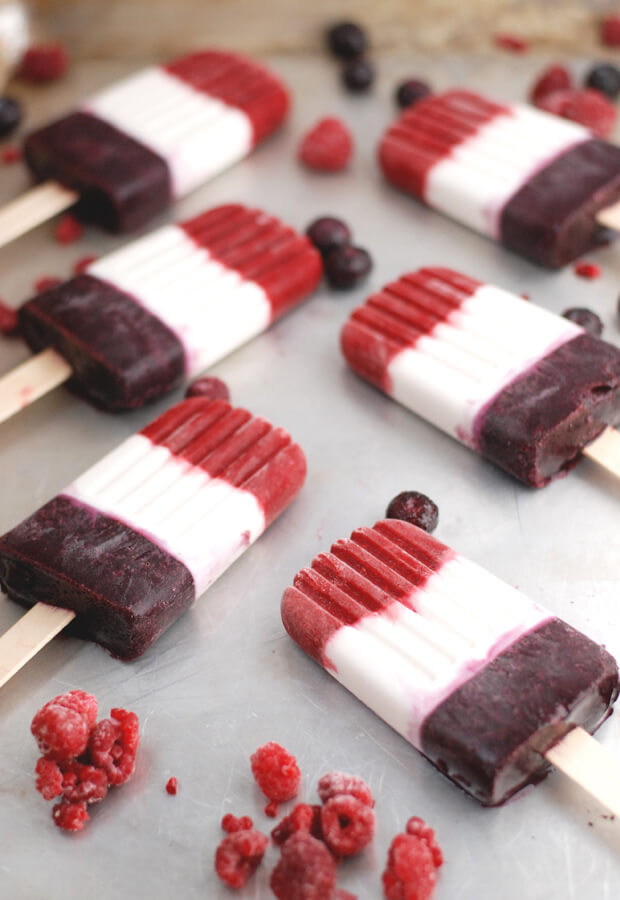
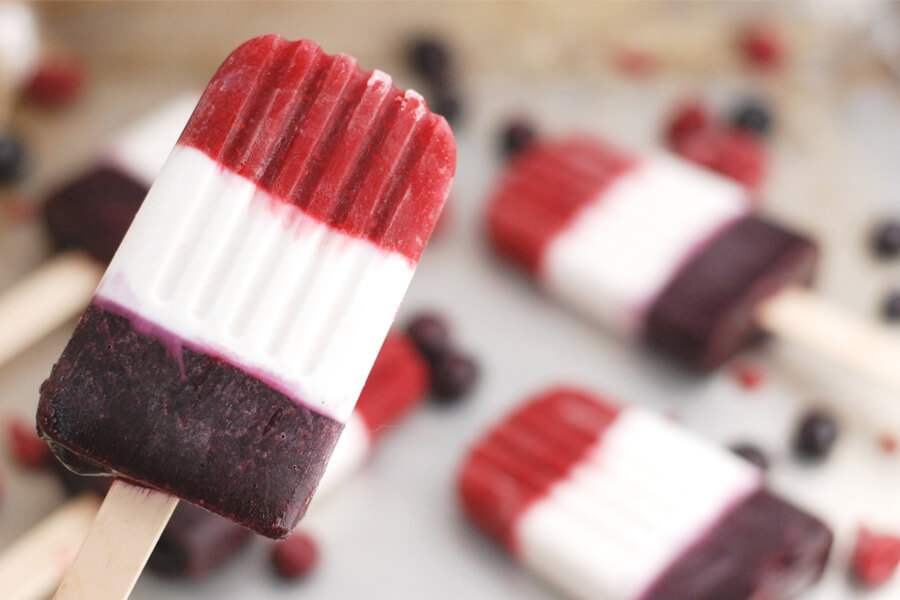
Bomb Pops are such a classic and nostalgic summer treat, especially with Independence Day right around the corner. Kids love popsicles, and with temperatures and humidity on the rise they are always looking for ways to cool off. I know you don’t love giving them the traditional sugar and dyed filled version so I created these natural treats. These kid-friendly Berry Bomb Pops use natural ingredients, real fruit, and no added processed sugar. They are the perfect treat kids and adults can feel good about eating.
This recipe makes 6 bomb pops using molds that hold about 3.5 ounces or ½ cup liquid. The amount of puree and coconut cream you need for each layer may vary depending on the size of your molds. You also want to be sure to use molds with detached plastic or wood sticks (some molds have sticks attached to top caps). This is so the sticks can be inserted into the middle layer, but still be open at the top to add the final layer. The molds used in the photos can be found here, but I also love these professional quality stainless steel ones.
The directions seem a bit daunting, but these are actually pretty easy to make if a bit time consuming. The ingredients for all the layers can be prepared at the same time, refrigerated and added when you get time. Each layer must be frozen in the molds individually to create the signature red, white, and blue stripes. The red and blue layers are made with whole frozen berries and the white layer adds a sweet subtle coconut flavor. These pops are not overly sweet but fresh, light, and creamy. More sweetener can be added to taste. I use liquid stevia in this recipe to avoid a grainy texture but other sweeteners would work as well.
Berry Bomb Pops are worth the effort and little hands love to help with these. They are as much fun to eat as they are to make, and would make a great addition to your 4th of July celebration. And you’ll feel good sharing these healthy treats with your little and big kids!
Yields 6 servings of Berry Bomb Pops
The Preparation
- 1 cup raspberries, frozen
- 1 cup blueberries, frozen
- 1 cup water, divided
- 1 ½ teaspoons liquid stevia, divided
- 1 ½ cups canned coconut cream
- ½ teaspoon vanilla extract
- Needs: Popsicle molds and sticks
The Execution
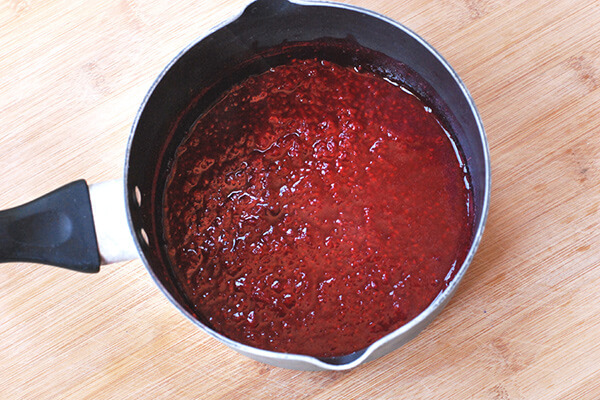
1. Place the raspberries, ½ cup water, and ½ teaspoon liquid stevia in a small saucepan. Bring the mixture to a boil over medium-high heat. Simmer for about 5 minutes until the fruit starts to break down and a little of the liquid has been reduced. Remove from the heat and use an immersion blender (or blender) to make a smooth red puree.
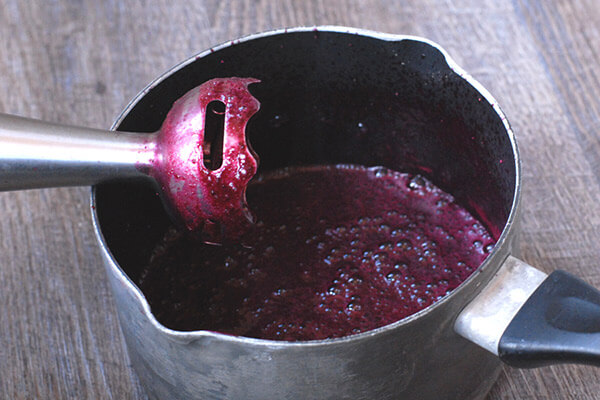
2. Repeat the above process with the blueberries. Place the blueberries, ½ cup water and ½ teaspoon liquid stevia in a small saucepan over medium-high heat. Simmer for about 5 minutes. Remove from the heat and use an immersion blender (or blender) to make a smooth blue puree. Set aside to cool or place in the refrigerator until ready to use. While the fruit is cooking mix the coconut cream, ½ teaspoon liquid stevia and vanilla extract in a separate small bowl. Set aside or place in the refrigerator until ready to use.
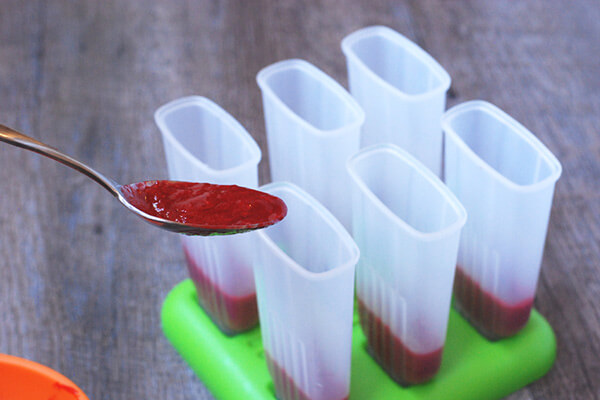
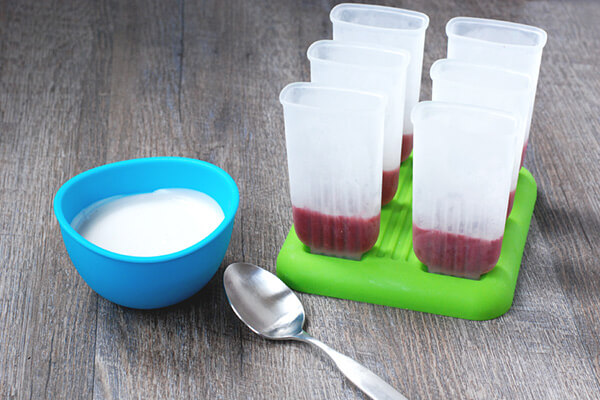
3. To assemble the popsicles start by dividing the raspberry puree into the molds. Carefully add approximately 2-3 full tablespoons of mixture into the center of each mold, filling about ⅓ full. Place the molds into the freezer and chill for at least 1 hour until set.
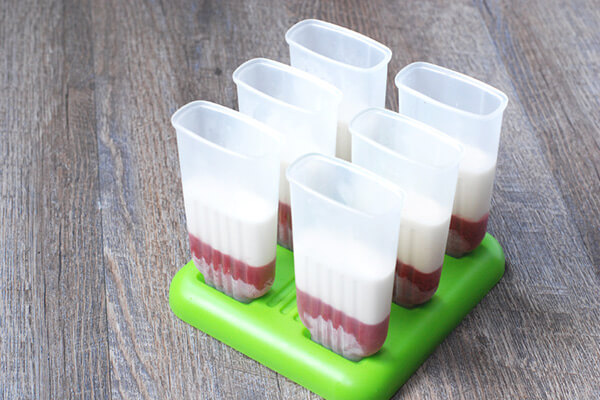
4. Using the same spoon method divide the coconut cream into the molds, about 3-4 tablespoons in each. Try to work quickly so the raspberry layer doesn’t melt and bleed into the coconut.
5. Place back in the freezer for about 30 minutes until partially set. This is the only time you really need to watch them. The coconut layer should be firm enough to hold the popsicle sticks but soft enough they can still be inserted.
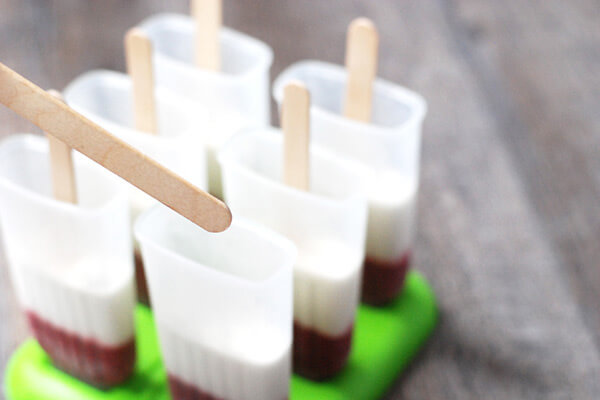
6. Add one stick to each mold, leaving a little bit of stick poking above the top (to hold it by) and place back into the freezer for at least another hour until completely solid.
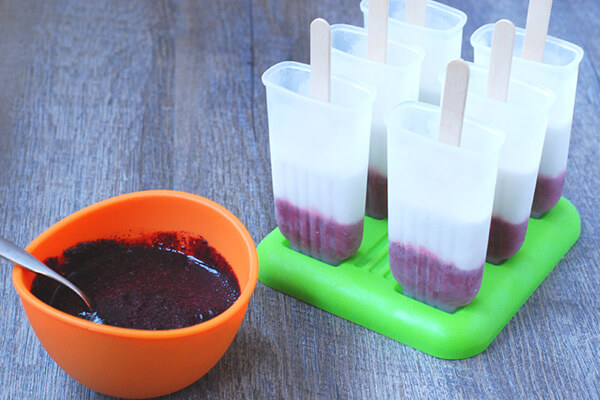
7. Finally add the blueberry puree using the same spoon method, about 2-3 full tablespoons in each.
8. Place the molds back in the freezer until completely set, at least another 1-2 hours.
Notes:
- The fruit purees can be made at the same time using 2 separate sauce pans to save time.
- Using a regular dinner spoon to fill the molds works well to keep the liquid from drizzling down the side. If a little does get on the side, just wipe it down into the mold with a clean finger or paper towel. You want the sides of the mold to be clear to make clean stripes.
- The fresh berry mixtures are beautiful but will stain surfaces! Be sure to use plastic or silicone tools instead of wood when mixing.
This makes a total of 6 servings of Berry Bomb Pops. Each serving comes out to be 146.33 Calories, 13.07g Fats, 5.26g Net Carbs, and 1.14g Protein.
| Berry Bomb Pops | Calories | Fats(g) | Carbs(g) | Fiber(g) | Net Carbs(g) | Protein(g) |
| 1 cup frozen raspberries | 73 | 0.91 | 16.72 | 9.1 | 7.62 | 1.68 |
| 1 cup frozen blueberries | 79 | 0.99 | 18.86 | 4.2 | 14.66 | 0.65 |
| 1 ½ teaspoons liquid stevia | 0 | 0 | 0 | 0 | 0 | 0 |
| 1 ½ cups canned coconut cream | 720 | 76.5 | 9 | 0 | 9 | 4.5 |
| ½ teaspoon vanilla extract | 6 | 0 | 0.27 | 0 | 0.27 | 0 |
| Totals | 878 | 78.4 | 44.85 | 13.3 | 31.55 | 6.83 |
| Per Serving(/6) | 146.33 | 13.07 | 7.48 | 2.22 | 5.26 | 1.14 |
Berry Bomb Pops
Ingredients
- 1 cup frozen raspberries
- 1 cup frozen blueberries
- 1 cup water divided
- 1 ½ teaspoons liquid stevia divided
- 1 ½ cups canned coconut cream
- ½ teaspoon vanilla extract
- Popsicle molds and sticks
Instructions
- Place the raspberries, ½ cup water, and ½ teaspoon liquid stevia in a small saucepan. Bring the mixture to a boil over medium-high heat. Simmer for about 5 minutes until the fruit starts to break down and a little of the liquid has been reduced.
- Remove from the heat and use an immersion blender (or blender) to make a smooth red puree.
- Repeat the above process with the blueberries. Place the blueberries, ½ cup water and ½ teaspoon liquid stevia in a small saucepan over medium-high heat. Simmer for about 5 minutes.
- Remove from the heat and use an immersion blender (or blender) to make a smooth blue puree. Set aside to cool or place in the refrigerator until ready to use.
- While the fruit is cooking mix the coconut cream, ½ teaspoon liquid stevia and vanilla extract in a separate small bowl. Set aside or place in the refrigerator until ready to use.
- To assemble the popsicles start by dividing the raspberry puree into the molds. Carefully add approximately 2-3 full tablespoons of mixture into the center of each mold, filling about ? full.
- Place the molds into the freezer and chill for at least 1 hour until set.
- Using the same spoon method divide the coconut cream into the molds, about 3-4 tablespoons in each. Try to work quickly so the raspberry layer doesn’t melt and bleed into the coconut.
- Place back in the freezer for about 30 minutes until partially set. This is the only time you really need to watch them. The coconut layer should be firm enough to hold the popsicle sticks but soft enough they can still be inserted.
- Add one stick to each mold, leaving a little bit of stick poking above the top (to hold it by) and place back into the freezer for at least another hour until completely solid.
- Finally add the blueberry puree using the same spoon method, about 2-3 full tablespoons in each.
- Place the molds back in the freezer until completely set, at least another 1-2 hours.
Notes
Using a regular dinner spoon to fill the molds works well to keep the liquid from drizzling down the side. If a little does get on the side, just wipe it down into the mold with a clean finger or paper towel. You want the sides of the mold to be clear to make clean stripes.
The fresh berry mixtures are beautiful but will stain surfaces! Be sure to use plastic or silicone tools instead of wood when mixing.
